
使用Swift实现iOS中的文件下载 – Part 3
FILE DOWNLOADING IN SWIFT – PART 3
本篇我们尝试把下载到app沙盒tmp目录下的zip文件解压缩到Documents目录下。为了解压缩zip档,我们会用到一个Swift包:ZIPFoundation。我们可以通过Xcode自带的Package manager来下载并添加。不知道为什么我有点怀念过去的CocoaPod(笑~)。
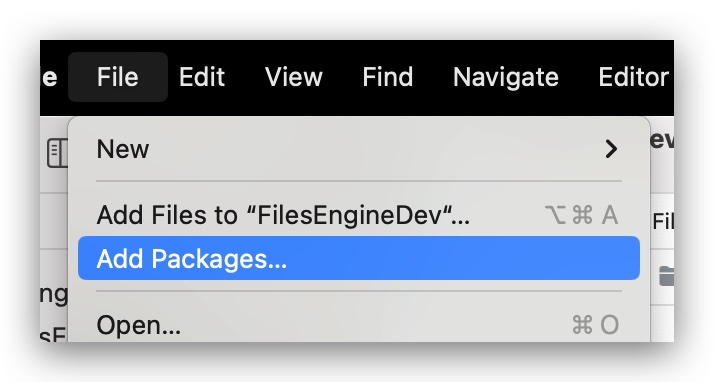
在菜单中找到Add Package并且填写正确的源地址:https://github.com/weichsel/ZIPFoundation
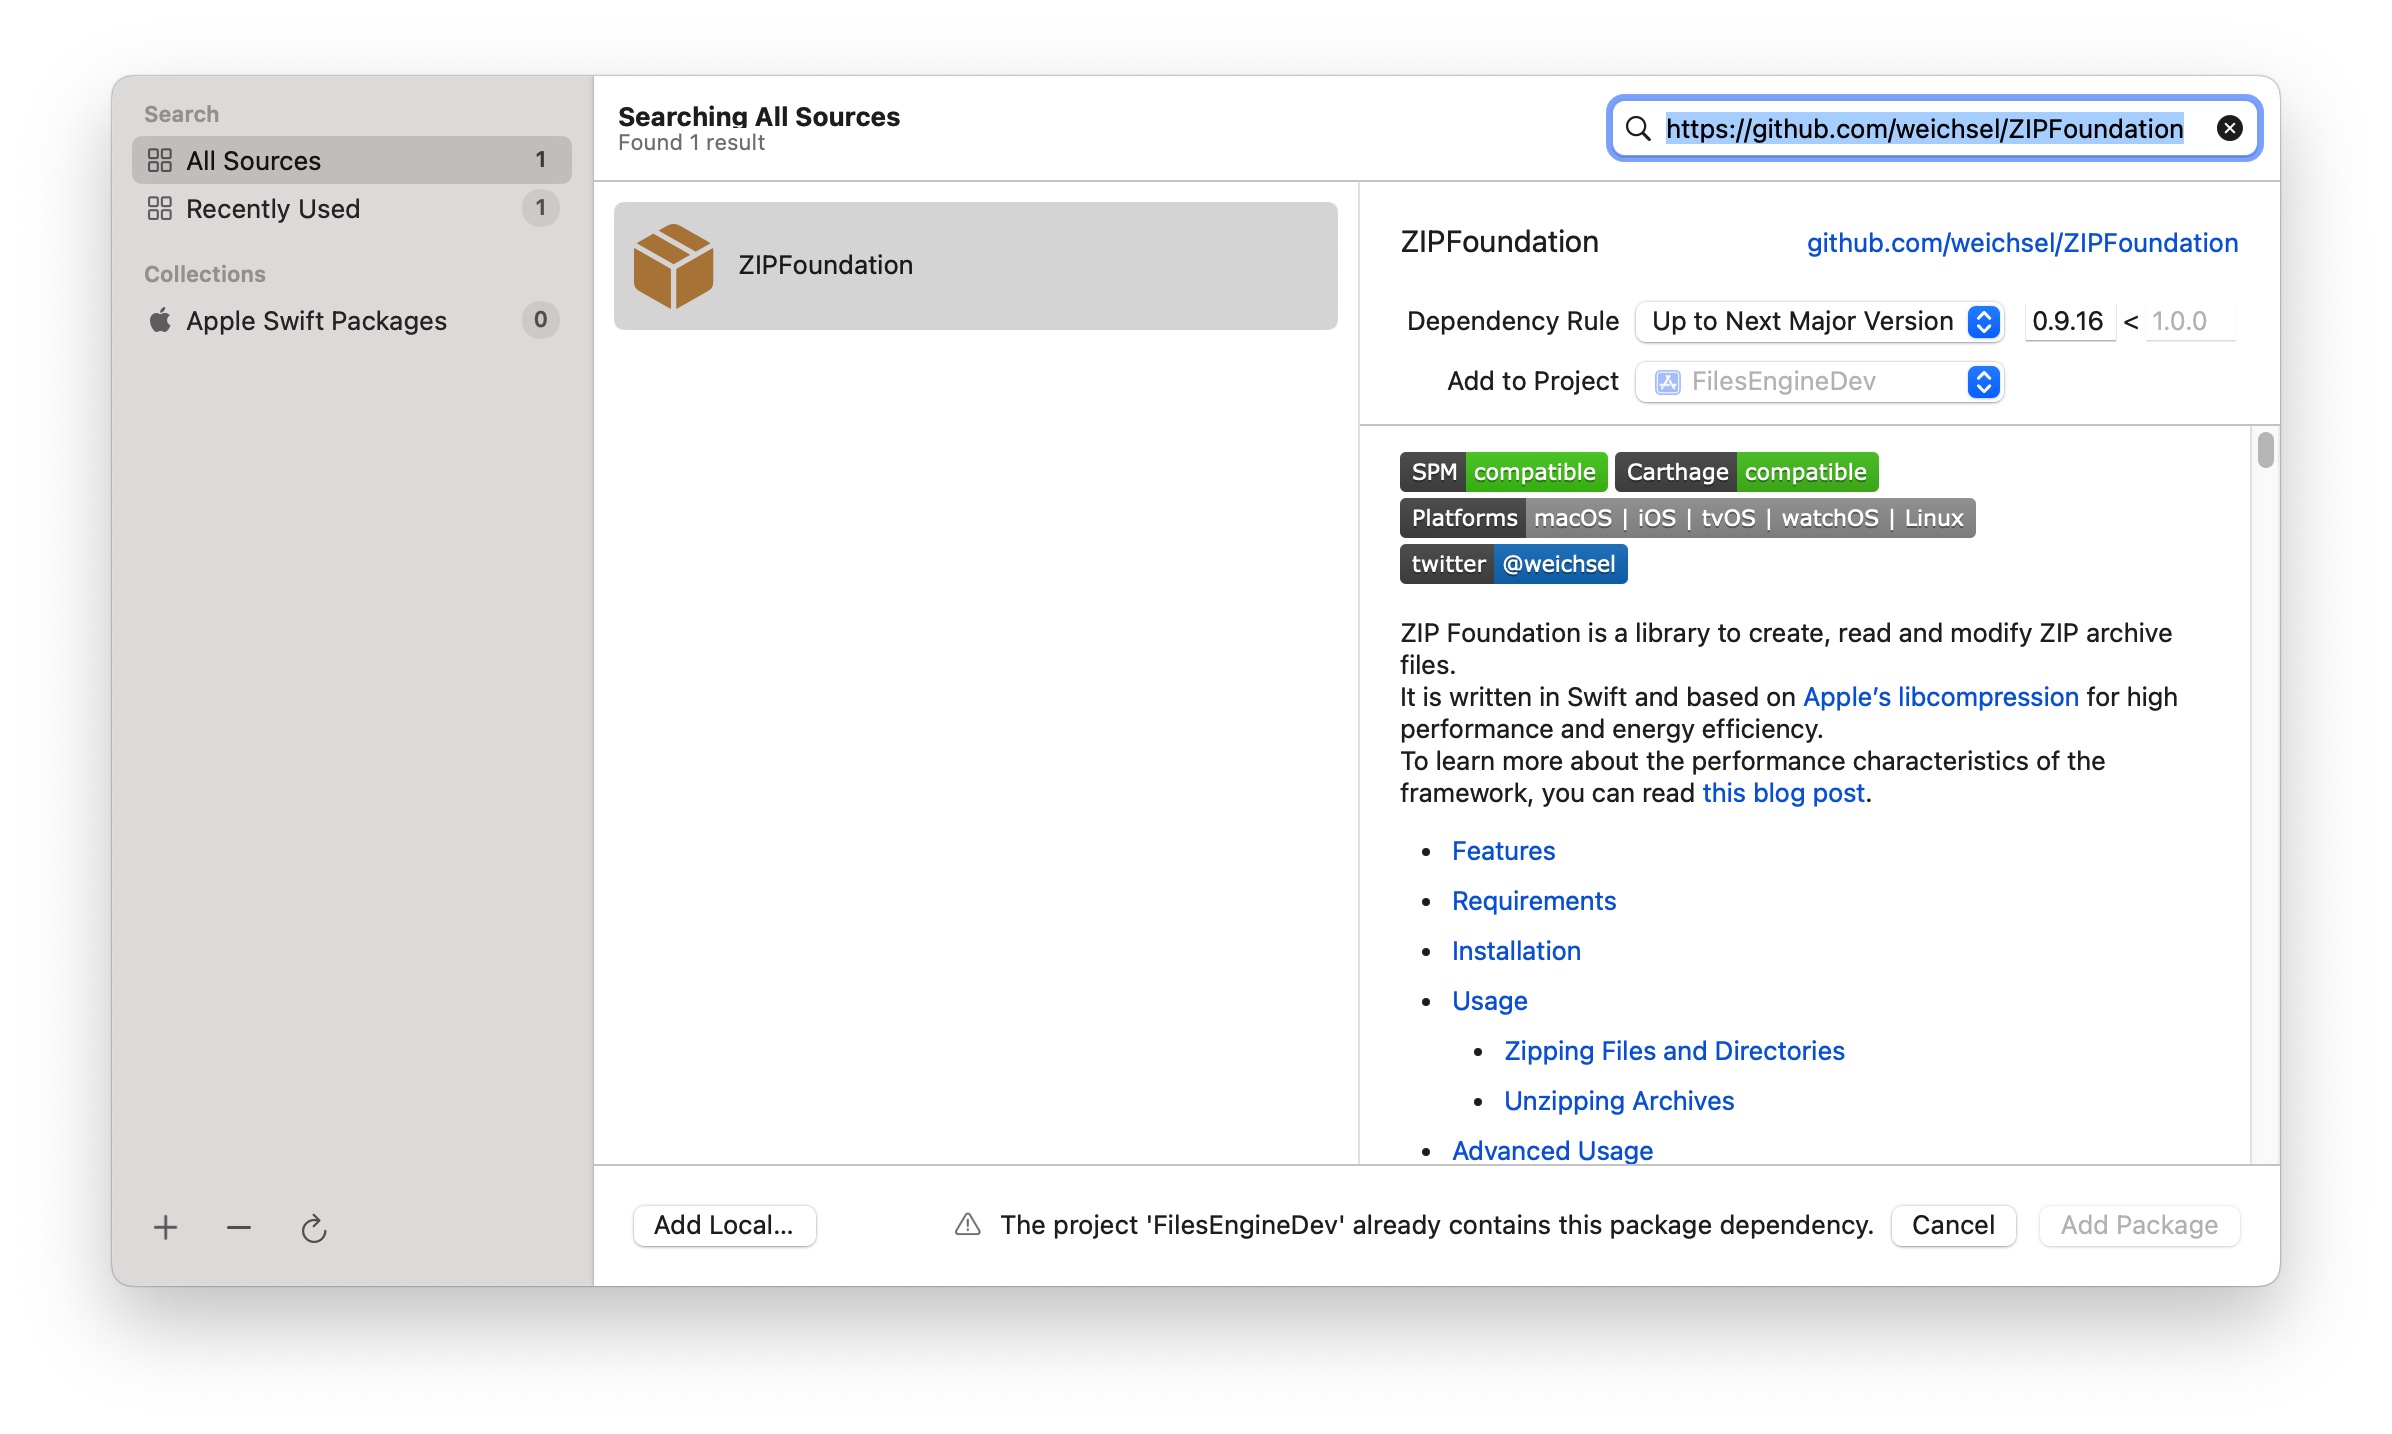
添加Package以后我们就可以在项目调用ZIPFoundation了。ZIPFoundation提供了zip文件的压缩、解压缩、加密、解密等等基本功能,基于Apple自家的libcompression,提供了高效的读写效能。
这里我们只对FileEngine.swift中的进行URLSession delegate中下载的方法做一些简单的修改:
Swift
//  FileEngine.swift
//  FilesDevTest
//
import Foundation
import ZIPFoundation


    func urlSession(_ session: URLSession, downloadTask: URLSessionDownloadTask, didFinishDownloadingTo location: URL) {
        do {
            let fileManager = FileManager.default
            let documentsDirectory = try fileManager.url(for: .documentDirectory, in: .userDomainMask, appropriateFor: nil, create: false)
            let resourceFolderURL = documentsDirectory.appendingPathComponent("Resource")

            //Create resource folder

            if !fileManager.fileExists(atPath: resourceFolderURL.path) {

                try fileManager.createDirectory(at: resourceFolderURL, withIntermediateDirectories: true)

            }

            //Unzip

            try fileManager.unzipItem(at: location, to: resourceFolderURL)


            downloadCompletion?(resourceFolderURL, nil)
        } catch {
            print("File error: \(error)")
            downloadCompletion?(nil, error)
        }
    }
首先我们找到Documents文件夹并在里面新建一个名为Resource的文件夹用一存放解压缩文件(这个例子中我们的压缩包中是未来天气App中所要用到的背景图片,所以这里我们新建了“资源”文件夹)。
解压缩的方法很简单,直接调用FileManager下的unzipItem(at:, to:)就可以了。
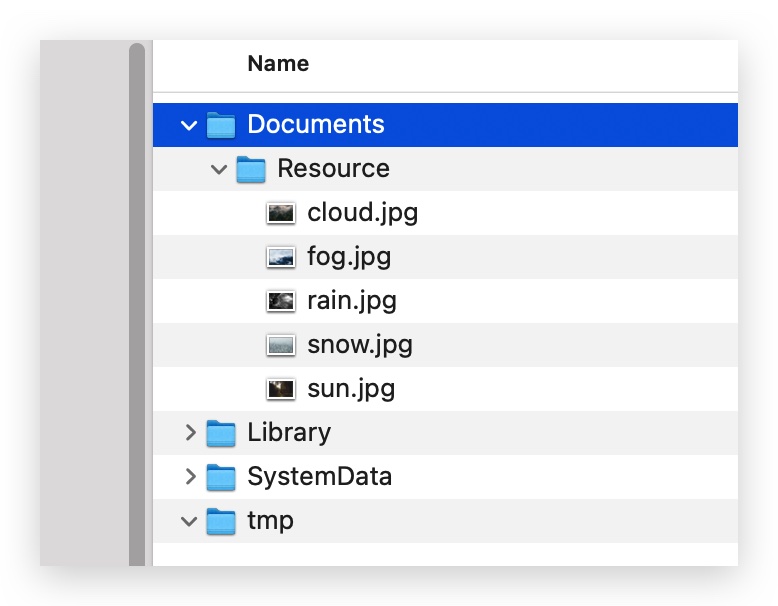
在Documents下建立了Resource并且讲zip中的文件解压到目录中。
Happy coding!